
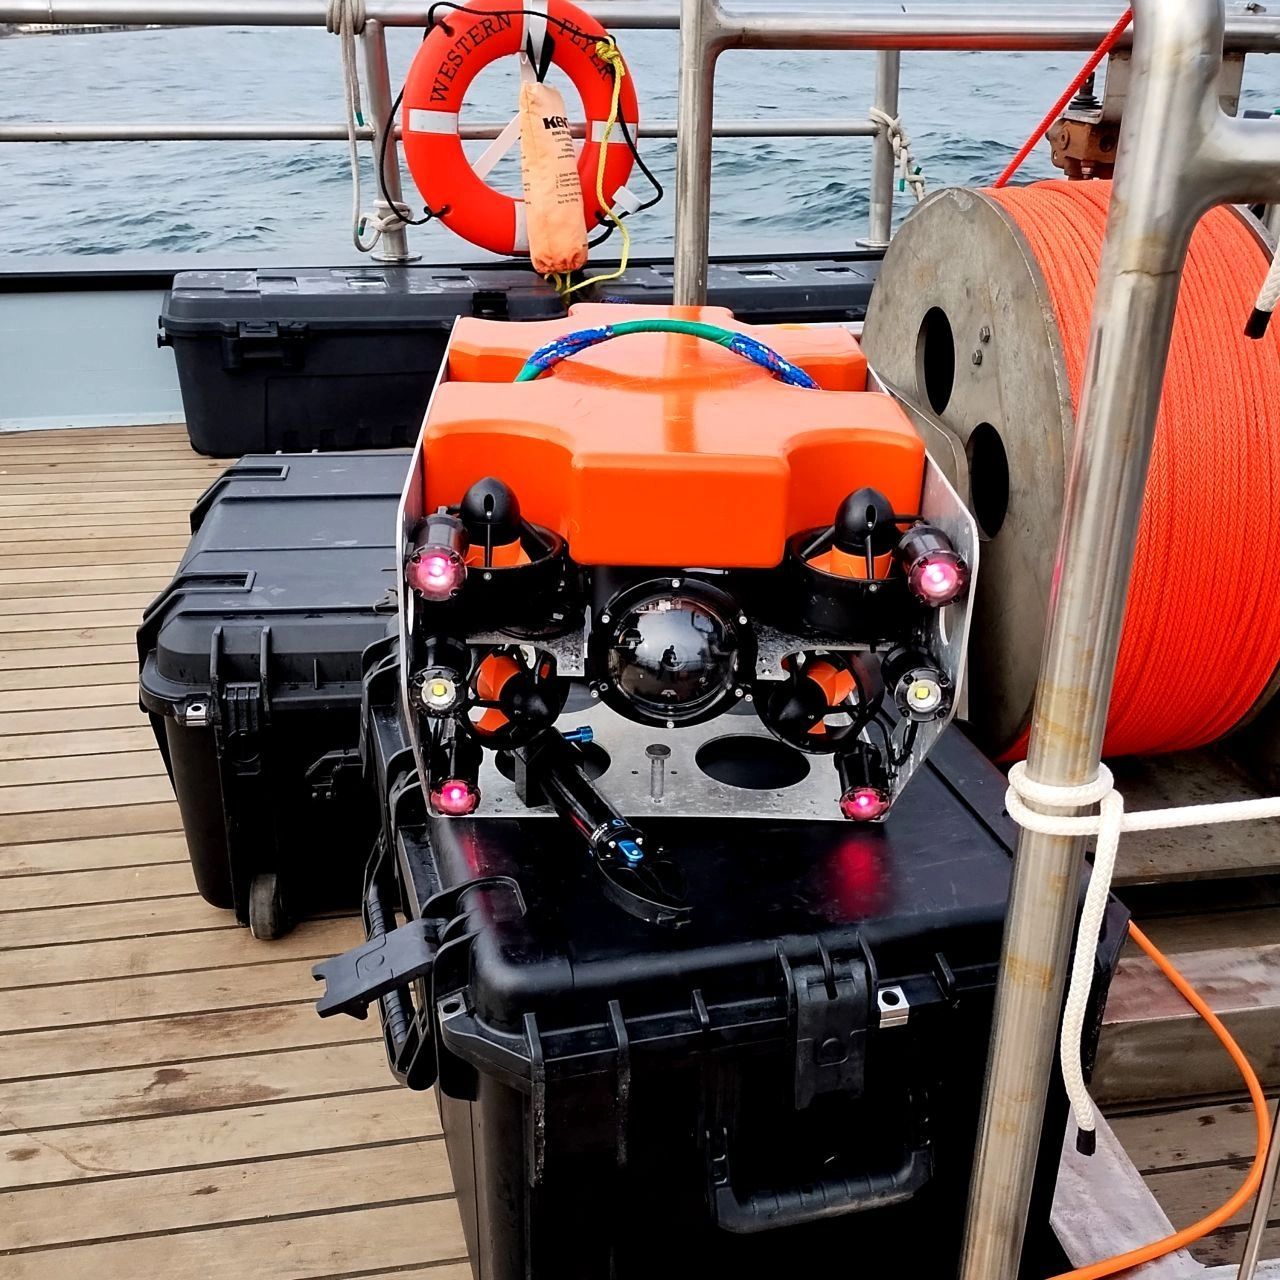
10 tips for lights, manipulators (arms), and other actuators:
- Lights will be required much of the time, so always include them.
- Light the area around the camera evenly.
- Place some lights facing down to help locate the seabed (it sneaks up).
- Deep Red lights is good for observing marine life without disturbing them.
- Without an arm (called a manipulator) the ROV is just window shopping.
- Small vehicles can maneuver the "manip" larger ones need more axis. A "grabber" only manip will work, but having rotate and one other axis is very helpful. 5 function (grabber, rotate, extend, yaw, and pitch) is the minimum for larger vehicles.
- "7 function" manips mimic the human arm and are vastly superior. Pair with a "master controller" where a small clone of the manips' joints are used at the surface and the subsea arm replicates the motion. Beginners can use these systems effectively within minutes.
- If room allows, pair a 1 to 7 function manip with a 5 to 7 function to have "two hands" in the deep. The ROV can hold a rope and cut, tie knots...., etc.
- Rotary actuators are used to move cameras and lights, often in arrangements called "pan & tilts" these are critical on larger ROVs, but small vehicles typically have only a tilt on the main camera. They can also be used for custom devices like water samplers.
- "Every accessory is a liability." Minimize pathways for water back into the ROV and with manips, always consider how they could "Get stuck".
Remember, everything is a compromise and the designer must balance having the tools needed for the job with launch weight and maneuverability.